
How to change placeholder color using Swift


Introduction

Chắc hẳn mỗi chúng ta đều đã thao tác với UITextField và đã quá quen với khái niệm Placeholder của UITextField. Mặc định iOS quy định màu của placeHolder text là màu xám dạng inactive tuy nhiên trong nhiều trường hợp chúng ta cần thay đổi màu này theo design. Trong bài biết này, chúng ta cùng nghiên cứu về cách custom color cho placeholder
Chúng ta cùng tìm hiểu nhé!

What is a placeholder?

Placeholder là một chuỗi charactor, work hoặc string chúng sử dụng để gợi ý nội dung cho phần textbox khi giá trị của ô textbox đang trống. Ví dụ: người sử dụng cần biết loại của giá trị ô cần nhập thế nào là hợp lệ và placeholder giúp user hiểu được điều này dễ hơn.

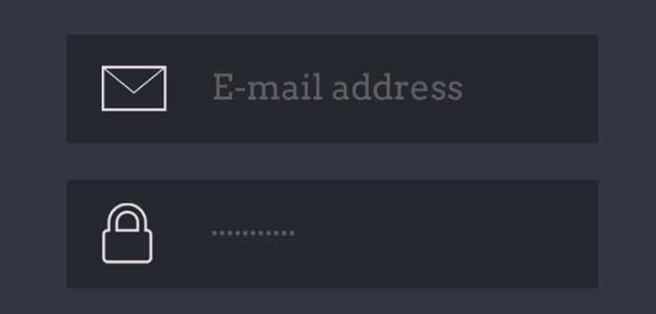
Change placeholder color with Swift

Sau khi bạn đã kéo IBoutlet cho UITextField trong file Main.Storyboard. Chúng ta kết nối outblet trong file .storyboard với file swift và đặt tên là textFieldWithPlaceholder
@IBOutlet weak var textFieldWithPlaceholder: UITextField!
Và trong ViewDidLoad() chúng ta set placeholder như sau:
var placeHolder = NSMutableAttributedString()
let Name  = "Placeholder Text" 
       
// Set the Font 
placeHolder = NSMutableAttributedString(string:Name, attributes: [NSFontAttributeName:UIFont(name: "Helvetica", size: 15.0)!])

// Set the color
placeHolder.addAttribute(NSForegroundColorAttributeName, value: UIColor.redColor(), range:NSRange(location:0,length:Name.characters.count))   

// Add attribute        
textFieldWithPlaceholder.attributedPlaceholder = placeHolder
Sau đó build và run app bạn sẽ nhìn thấy placeholder đã thay đổi font và color theo như đã được setup trong code.

Use Swift Extension to change Placeholder Color

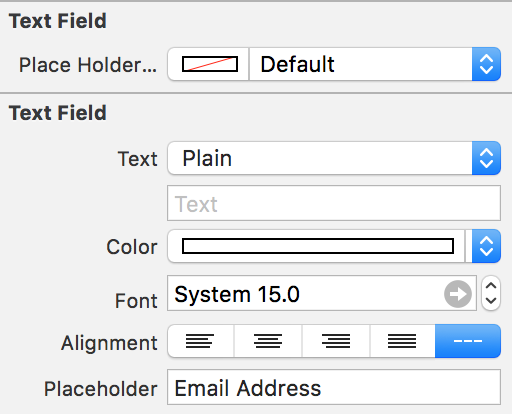
Với cách làm này, chúng ta sẽ tạo một extension cho tất cả các Textfield. Trước tiên chúng ta chọn Text Field trong Viewcontroller, đi tới attributes inspector và set placeholder.

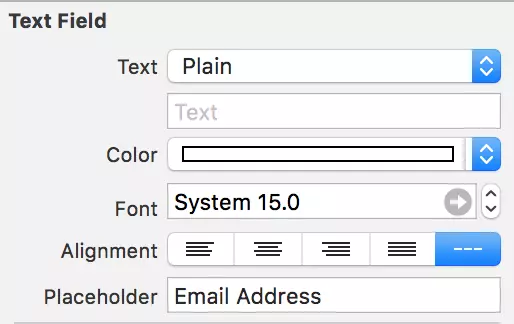
Bạn có thể thấy là tôi đã đánh text "E-mail Address" và tất nhiên bạn có thể hoàn toàn thay thế bằng text khác. Sau đó quay trở lại file ViewController.Swift, chúng ta insert dòng code dưới đây:
extension UITextField{
    @IBInspectable var placeHolderColor: UIColor? {
        get {
            return self.placeHolderColor
        }
        set {
            self.attributedPlaceholder = NSAttributedString(string:self.placeholder != nil ? self.placeholder! : "", attributes:[NSForegroundColorAttributeName: newValue!])
        }
    }
}
Tất nhiên phần extension chúng ta sẽ đặt ngoài phần khai báo cho class như dưới đây:
import Foundation

class ViewController: UIViewController {

    @IBOutlet weak var textFieldWithPlaceholder: UITextField!
    override func viewDidLoad() {
        // stuff
    }
}

extension UITextField{
    @IBInspectable var placeHolderColor: UIColor? {
        get {
            return self.placeHolderColor
        }
        set {
            self.attributedPlaceholder = NSAttributedString(string:self.placeholder != nil ? self.placeholder! : "", attributes:[NSForegroundColorAttributeName: newValue!])
        }
    }
}
Bây giờ, chúng ta quay lại file Main.Storyboard và click vào một trong các UITextFields trong viewcontroller. Sau đó đi tới Attributes Inspector và chúng ta thấy thêm option set color cho UITextField.

User Defined Runtime Attributes

Và cuối cùng đây là giải pháp đơn giản nhất mà bạn không cần phải thêm bất cứ dòng code nào. Chúng ta đi tới UITextField sau đó chọn Identity Inspector và cuộn xuống tới User Defined Runtime Attributes:

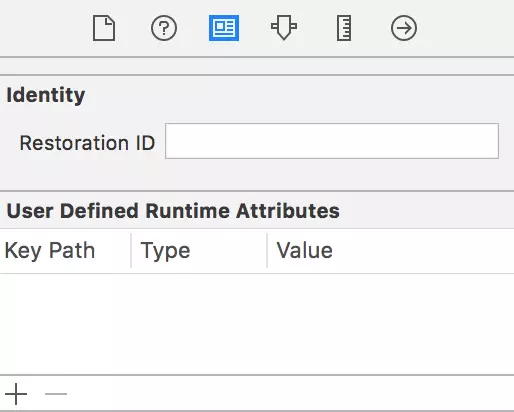
Click button "+" và thêm key và value như dưới đây:
Key Path Type Value
_placeholderLabel.textColor Color Select a color
Và sau đó run app bạn sẽ thấy kết quả ngay lập tức.

Conclusion

Trong bài viết này mình đã giới thiệu tới các bạn các cách làm khác nhau để có thể dễ dàng thay đổi color cho placeholder. Tuỳ vào từng bài toán thực tế chúng ta sẽ lựa chọn các cách khác nhau cho phù hợp.
Cám ơn bạn đã dành thời gian cho bài viết này!
Nguồn:
[https://www.ios-blog.com/tutorials/swift/how-to-change-the-placeholder-color-using-swift-extensions-or-user-defined-runtime-attributes/)

Comments

Popular posts from this blog

Swift GCD part 1: Thread safe singletons

Preview Singletons are entities, referenced to the same instance of a class from everywhere in your code. It doesn't matter if you like them or not, you will definitely meet them, so it's better to understand how they work. Constructing and handling a set of data doesn't seem to be a big challenge at first glance. The problems appear when you try to optimise the user experience with background work and your app starts acting weird. ??‍♂️ After decades of watching your display mostly with a blank face, you finally realize that your data isn't handled consistently by the manager because you're accessing it (running tasks on it) from multiple threads at the same time. So you really do have to deal with making your singletons thread safe. This article series is dedicated to thread handling using Swift. In the first part below you will get a comprehensive insight into som...

Thread safe singleton’s in Swift

What are singletons? — Singleton is design patterns which says that there should be only one instance of the class for the lifetime of the application. One the best example of Singleton is AppDelegate . How to write a singleton class ? class DefaultDict{ private var dict:[String:Any] = [:] public static let sharedManager = DefaultDict() private init(){ } public func set(value:Any,key:String){ dict[key] = value } public func object(key:String) -> Any?{ dict[key] } public func reset(){ dict.removeAll() } }   Testing singleton class under concurrent circumstances. We are going to write an example where we will set values in dict from various threads and even try to access some with different threads. When we do this we will encounter a crash. If you look closely it will be because of race condition and the crash will be on line set(value:Any,key:String) . class ViewController: UIViewController { ...

Frame vs Bounds in iOS

This article is a repost of an answer I wrote on Stack Overflow . Short description frame = a view’s location and size using the parent view’s coordinate system ( important for placing the view in the parent) bounds = a view’s location and size using its own coordinate system (important for placing the view’s content or subviews within itself) Details To help me remember frame , I think of a picture frame on a wall . The picture frame is like the border of a view. I can hang the picture anywhere I want on the wall. In the same way, I can put a view anywhere I want inside a parent view (also called a superview). The parent view is like the wall. The origin of the coordinate system in iOS is the top left. We can put our view at the origin of the superview by setting the view frame’s x-y coordinates to (0, 0), which is like hanging our picture in the very top left corner of the wall. To move it right, increase x, to move it down increase y. To help me remember bound...