
Một số cách để ẩn Keyboard


Một số cách thường được sử dụng để ẩn Keyboard

Khi nhắc đến Keyboard thì chúng ta hẳn sẽ nghĩ ngay đến Textfield, một component quá phổ biến mà hầu hết các app iOS đều có (không nhắc đến game nha 😅). Mặc định khi nhấn vào một UITextfield thì keyboard sẽ tự động xuất hiện, và việc của developer đó là ẩn nó đi khi người dùng thao tác xong. Sau đây tôi xin đề cập đến một số cách mà chúng ta thường sử dụng để ẩn keyboard trên View Controller.
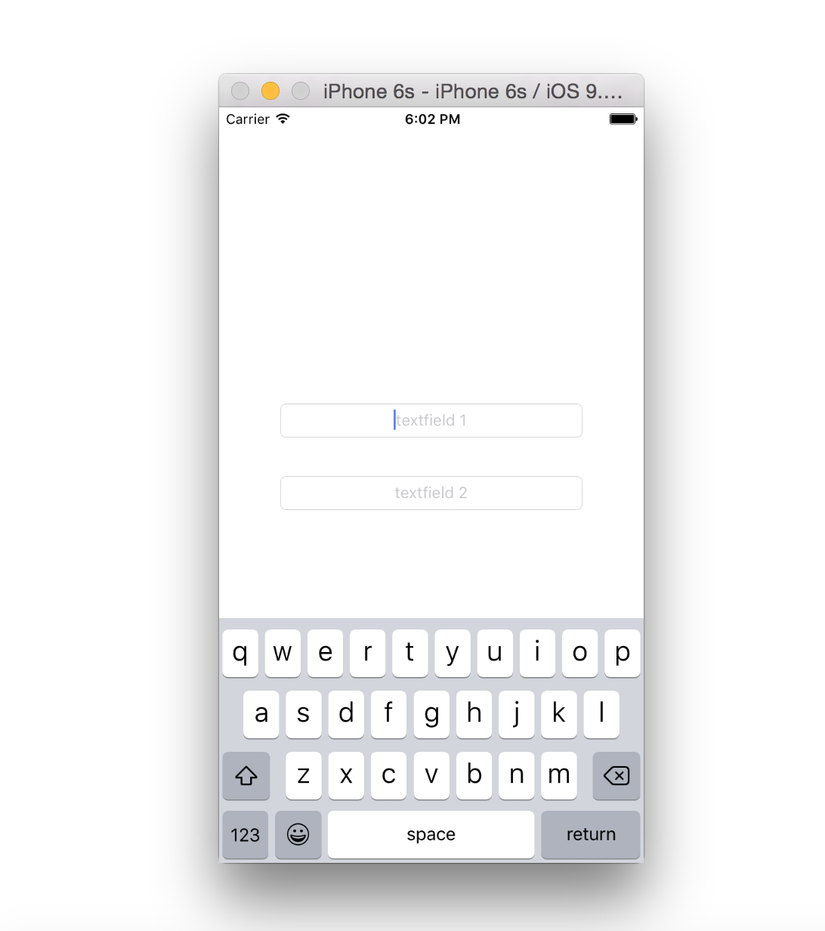
Cách thứ nhất

Implement phương thức textFieldShouldReturn của UITextfieldDelegate và thực hiện gọi đến resignFirstResponder
func textFieldShouldReturn(textField: UITextField) -> Bool {
   
   textField.resignFirstResponder()
   //or
   //self.view.endEditing(true)
   return true
}
Các thức này khá thông dụng và hiệu quả đối với những textfiled cho phép hiển thị nút Return, còn đối với những textfield không có nút Return thì sao?

Cách thứ hai

Đối với những textfield không có nút Return ví dụ như khi người dùng đang nhập vào bằng bàn phím số (UIKeyboardType.NumberPad) :

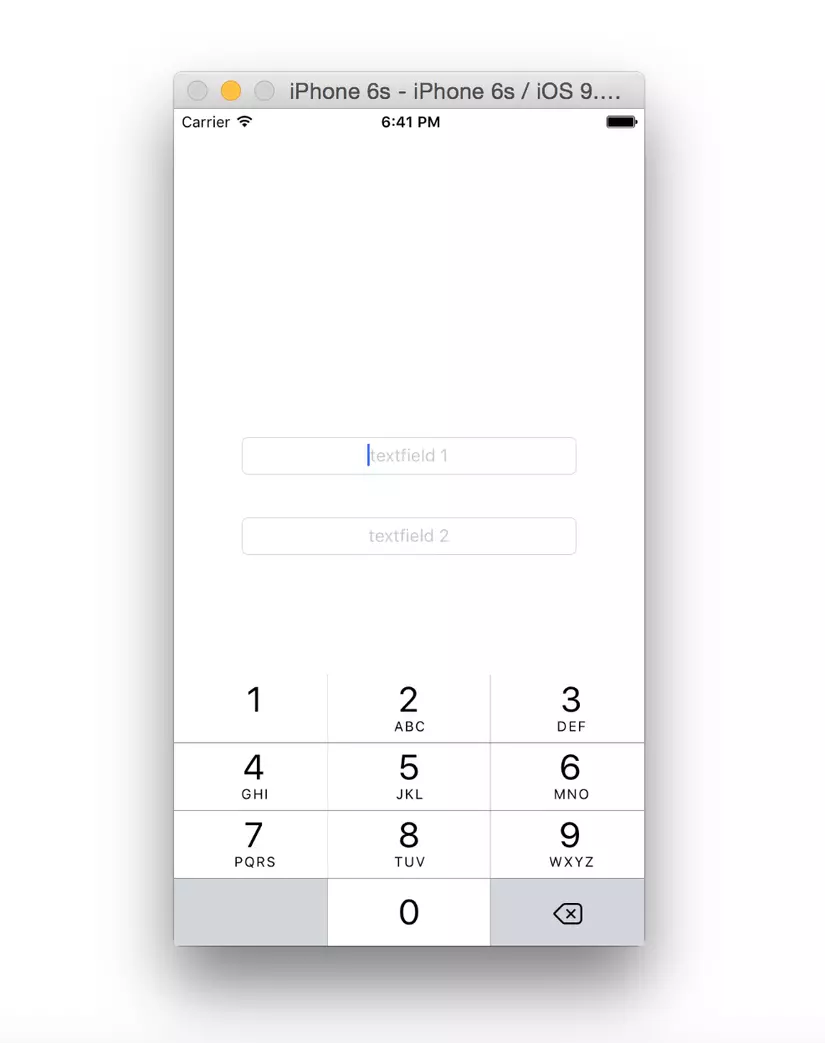
ĐỐi với trường hợp này thì cách mà chúng ta sẽ làm đó là hiển thị một thanh toolbar với nút Done nằm phía trên Keyboard. Khi user sẽ nhấn vào nút Done này để đánh dấu việc nhập xong dữ liệu cho khung textfield. Chúng ta thực hiện bằng cách tạo một UIToolbar và gán nó vào thuộc tính có tên inputAccessoryView của UITextfield.
override func viewDidLoad() {
   super.viewDidLoad()
   //init toolbar
   let toolbar:UIToolbar = UIToolbar(frame: CGRect(x: 0, y: 0,  width: self.view.frame.size.width, height: 30))
   //create left side empty space so that done button set on right side
   let flexSpace = UIBarButtonItem(barButtonSystemItem:    .flexibleSpace, target: nil, action: nil)
   let doneBtn: UIBarButtonItem = UIBarButtonItem(title: “Done”, style: .done, target: self, action: Selector(“doneButtonAction”))
   toolbar.setItems([flexSpace, doneBtn], animated: false)
   toolbar.sizeToFit()
   //setting toolbar as inputAccessoryView
   self.textField1.inputAccessoryView = toolbar
   self.textField2.inputAccessoryView = toolbar
}
func doneButtonAction() {
   self.view.endEditing(true)
}

Cách thứ ba

Cách tiếp theo mà tôi muốn nhắc đến đó là user chỉ việc tap vào một vị trí bất kì trên màn hình và keyboard sẽ tự đông được ẩn đi. Hẳn ai cũng biết là tôi muốn nhắc đến UITapGesture đúng không? Chỉ một vài dòng code đơn giản là đã có thể thực hiện được thao tác này: trong viewDidLoad tiến hành khởi tạo một UITapGesture với selector là một phương thức gọi đến resignFirstResponder
self.view.addGestureRecognizer(UITapGestureRecognizer(target: self.view, action: Selector(“endEditing:”)))
Rất dễ dàng đúng không nào? Nhưng như chúng ta đã biết, Ben, người chú đáng kính của chàng người nhện Peter Parker đã từng nói: "Great power comes with great responsibility". Vấn đề mà chúng ta có thể sẽ gặp phải khi sử dụng UITapGesture để ẩn bàn phím, là nếu trên màn hình có một UITableView, chúng ta sẽ không thể thực hiện tap vào cell để gọi đến didSelectRowAtIndex Và đây sẽ là giải pháp:
let tap = UITapGestureRecognizer(target: self.view, action: Selector(“endEditing:”))
tap.cancelsTouchesInView = false
self.view.addGestureRecognizer(tap)
Hãy chắc chắn rằng giá trị cancelsTouchesInView được set về false.

Cách thứ tư

Nếu textfield của chúng ta đãng được add lên trên UIScrollView, (tương tự với UITableview, UICollectionView vì chúng đều là subclass của UIScrollView), chúng ta có thể sử dụng thuộc tính keyboard dismiss mode như sau:
tableView.keyboardDismissMode = .onDrag // .interactive

Như vậy, mỗi khi user scroll xuống phía dưới, bàn phím sẽ được tự động ẩn đi.

Tổng kết

Trên đây tôi vừa đề cập đến một số cách mà chúng ta có thể sử dụng để ẩn bàn phím khi làm việc trên một số component như UITextfield, UITextView. Cũng xin đề cập thêm là ngoai cách gọi phương thức* textField.resignFirstResponder() * để ẩn bàn phím, chúng ta có thể sử dụng một số cách như sau mà không cần quan tâm đến textfield đang được focus:
// Cách 1
self.view.endEditing(true)

// Cách 2
UIApplication.shared.sendAction(#selector(UIApplication.resignFirstResponder), to: nil, from: nil, for: nil)

Vậy đâu là cách mà các bạn đã/đang/sẽ sử dụng khi làm việc với Keyboard, hãy đừng ngại để lại comment/lời nhắn/góp ý phía dưới.

Comments

Popular posts from this blog

Swift Tool Belt, Part 1: Adding a Border, Corner Radius, and Shadow to a UIView with Interface Builder

During my iOS work, I’ve assembled a set of code that I bring with me on every iOS project. I’m not talking about large frameworks or CocoaPods here. These are smaller Swift extensions or control overrides that are applicable to many projects. I think of them as my tool belt. In this post, I’ll show you an extension that will add a border, a corner radius, and a shadow to any UIView, UIButton, or UILabel and allow you to preview what it will look like in Interface Builder. Back in 2014, I wrote a blog post on Expanding User-Defined Runtime Attributes in Xcode where I added a border, corner radius, and shadow to a UIView using Interface Builder’s user-defined runtime attributes. This solution had no type checking—you had to type the property you wanted to modify by hand and often had to look up what it was called. You also had to run your project in order to see the effect of the runtime attribute. Starting with Xcode 6 , there is a new mech...

Alamofire vs URLSession

Alamofire vs URLSession: a comparison for networking in Swift Alamofire and URLSession both help you to make network requests in Swift. The URLSession API is part of the foundation framework, whereas Alamofire needs to be added as an external dependency. Many  developers  doubt  whether it’s needed to include an extra dependency on something basic like networking in Swift. In the end, it’s perfectly doable to implement a networking layer with the great URLSession API’s which are available nowadays. This blog post is here to compare both frameworks and to find out when to add Alamofire as an external dependency. Build better iOS apps faster Looking for a great mobile CI/CD solution that has tons of iOS-specific tools, smooth code signing, and even real device testing? Learn more about Bitrise’s iOS specific solutions! This shows the real power of Alamofire as the framework makes a lot of things easier. What is Alamofire? Where URLSession...

Frame vs Bounds in iOS

This article is a repost of an answer I wrote on Stack Overflow . Short description frame = a view’s location and size using the parent view’s coordinate system ( important for placing the view in the parent) bounds = a view’s location and size using its own coordinate system (important for placing the view’s content or subviews within itself) Details To help me remember frame , I think of a picture frame on a wall . The picture frame is like the border of a view. I can hang the picture anywhere I want on the wall. In the same way, I can put a view anywhere I want inside a parent view (also called a superview). The parent view is like the wall. The origin of the coordinate system in iOS is the top left. We can put our view at the origin of the superview by setting the view frame’s x-y coordinates to (0, 0), which is like hanging our picture in the very top left corner of the wall. To move it right, increase x, to move it down increase y. To help me remember bound...